How to Start Seeds From Home
Written by Nicole Semeraro, Seasonal Horticulturist
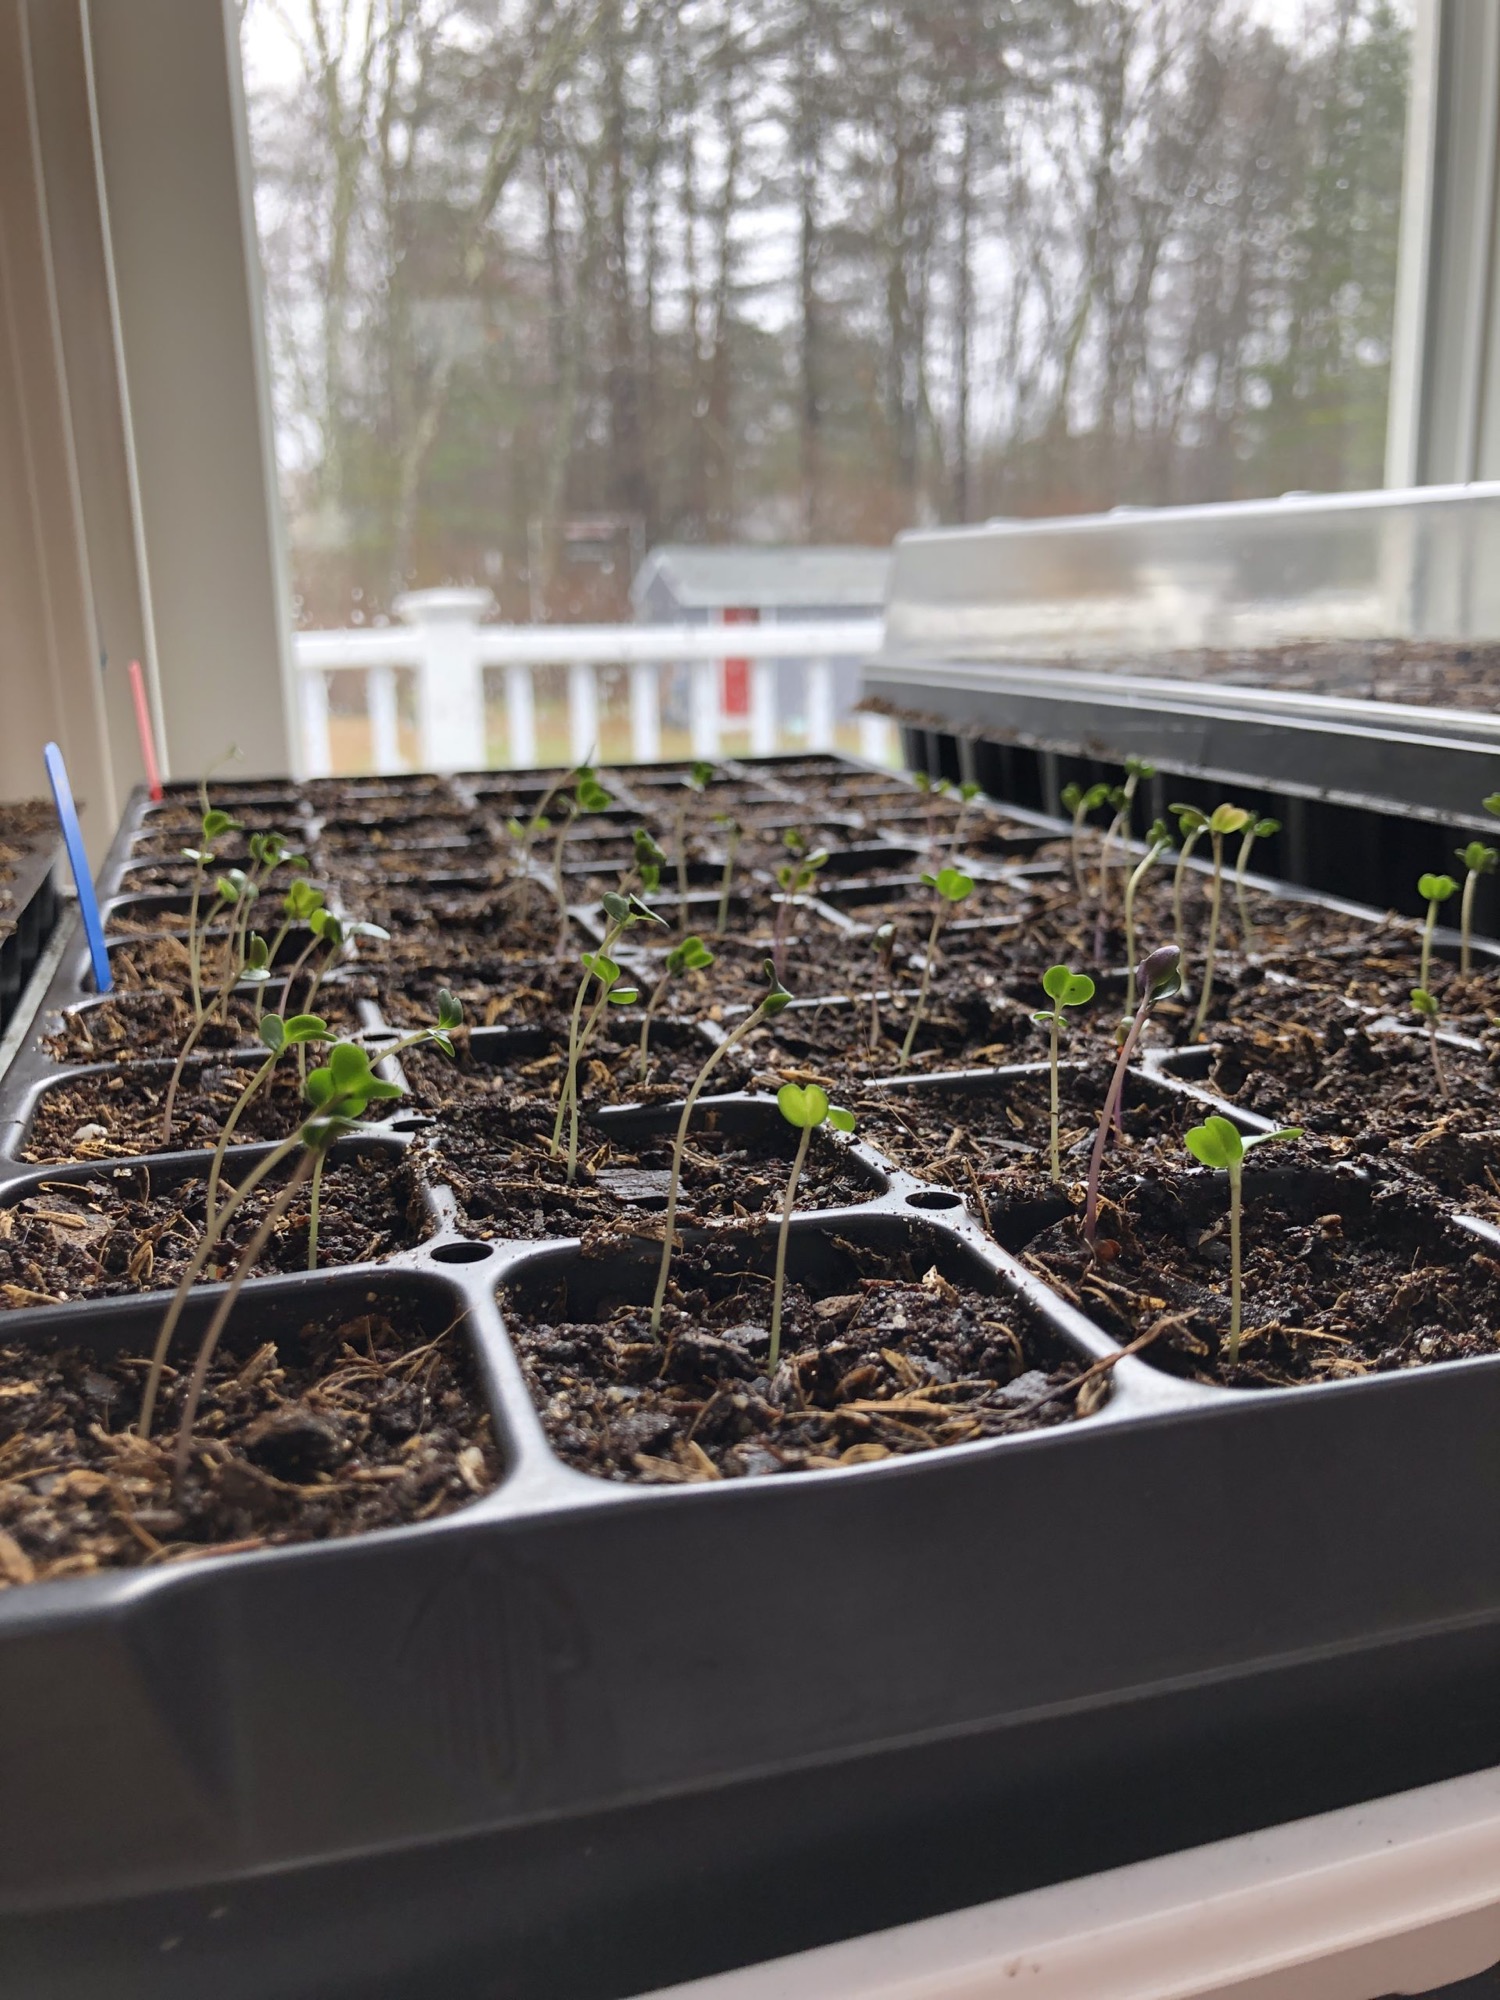
At the Conservancy, spring is synonymous with seedlings. Along with the many buds and blooms on The Greenway, our horticulture staff are cultivating seedlings that will eventually be transplanted into the park.
Did you know you can find fruits and vegetables along The Greenway? On Dewey Square, our Demo Garden becomes home to many of our seedlings and is where we grow beans, tomatoes, and other produce. Each year, a portion of this produce is donated to Loving Spoonfuls, a food rescue organization working in our community.
For those unable to visit our Demo Garden in person, we invite you to #BringTheGreenwayHome with these step by step instructions on how to grow seedlings in your own home or backyard!
Please note that while many nurseries, greenhouses, garden centers, and agriculture supply stores are open as essential services and may offer curbside pickup (or online ordering and delivery), we remind you to practice safe physical distancing at this time.
Looking for more step by step instructions? Find Nicole’s tips & tricks outlined below!
Necessary Materials:
- Seeds (of course!): The Conservancy typically buys seeds from Johnny’s Selected Seeds. They have a diverse selection of organic seeds, from flowers to vegetables.
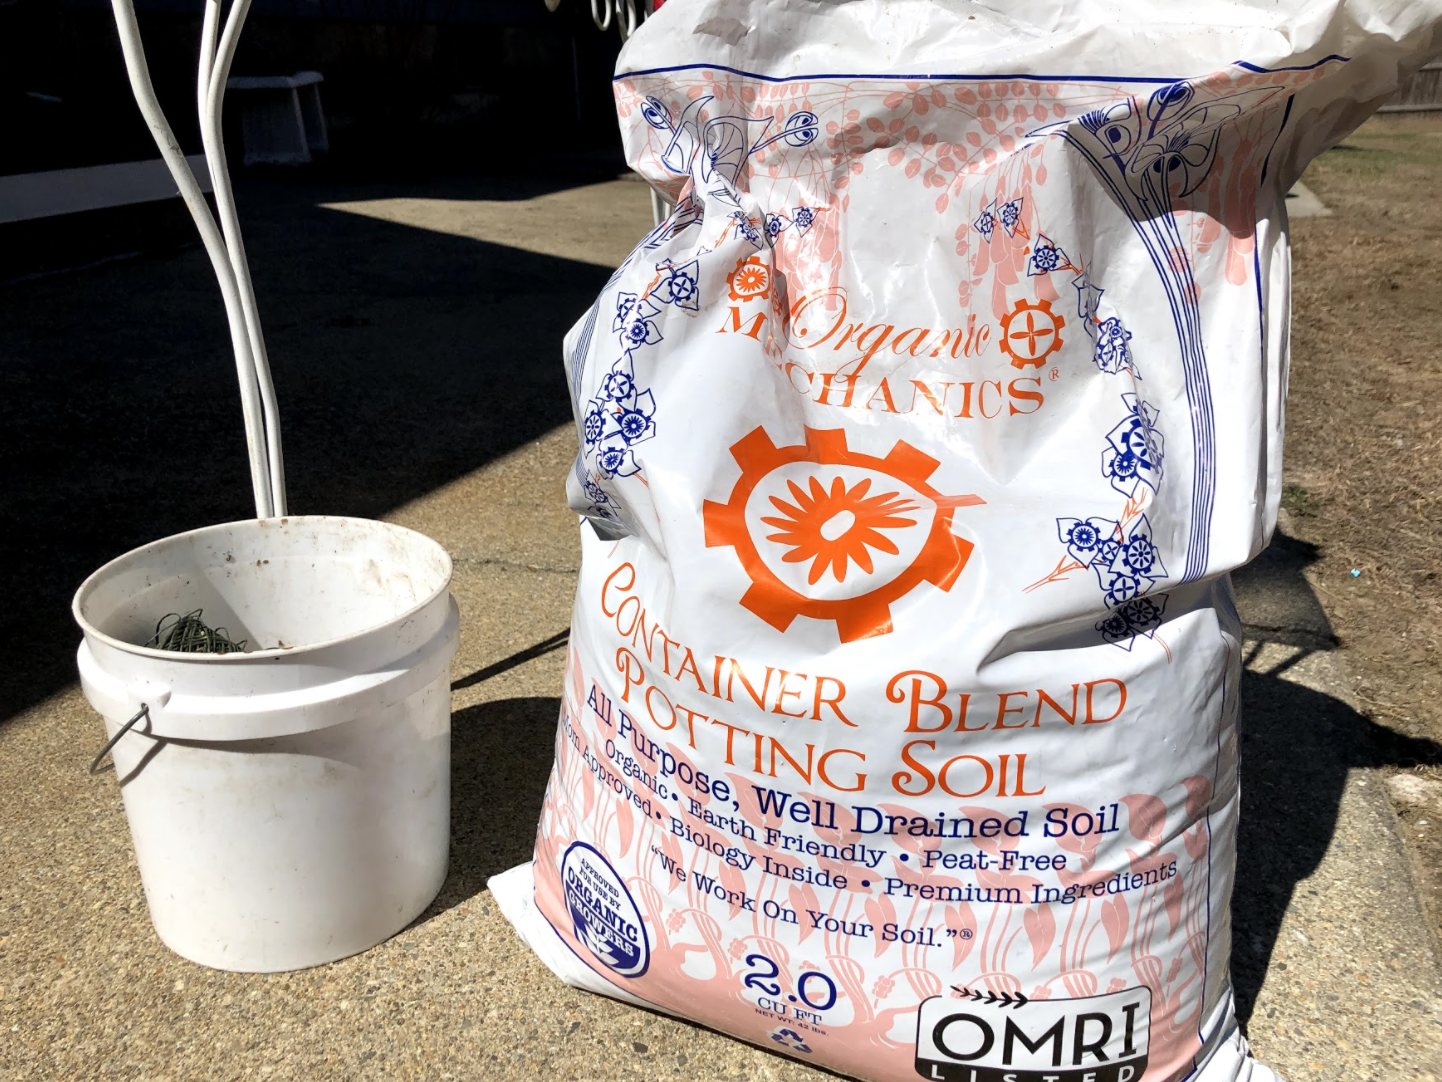
- Potting soil: We use Organic Mechanics Container Blend Potting Soil, mixed with a small bit of sand to soften up the texture a bit. There are many different types of seed starting soil mix; we encourage you to pick the one that works best for you.
- Seed starting trays or egg cartons
- Essential basics: Water, light, and a tabletop space or safe area to keep your trays.
Step 1
Start with cleaning the seed trays if they were used the previous year. This will prevent any diseases or seeds from unwanted plants to come about with your new plants.
Step 2
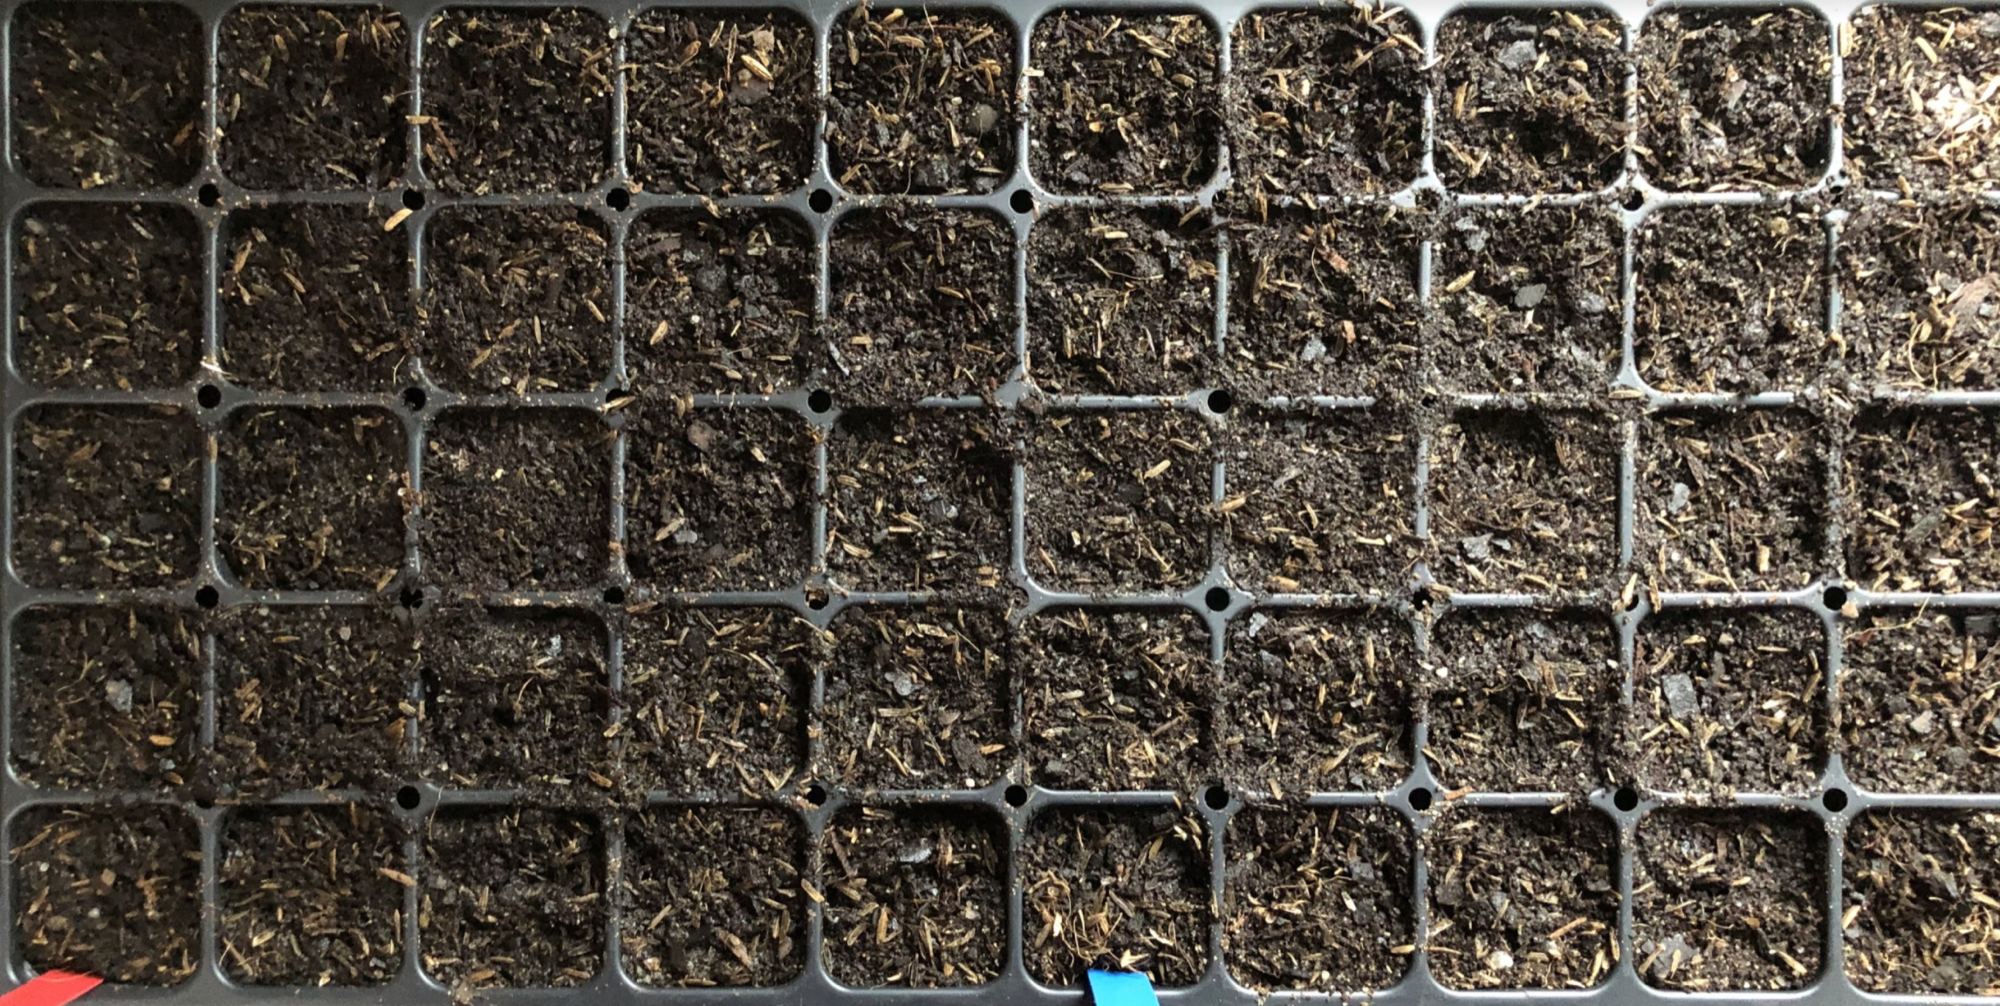
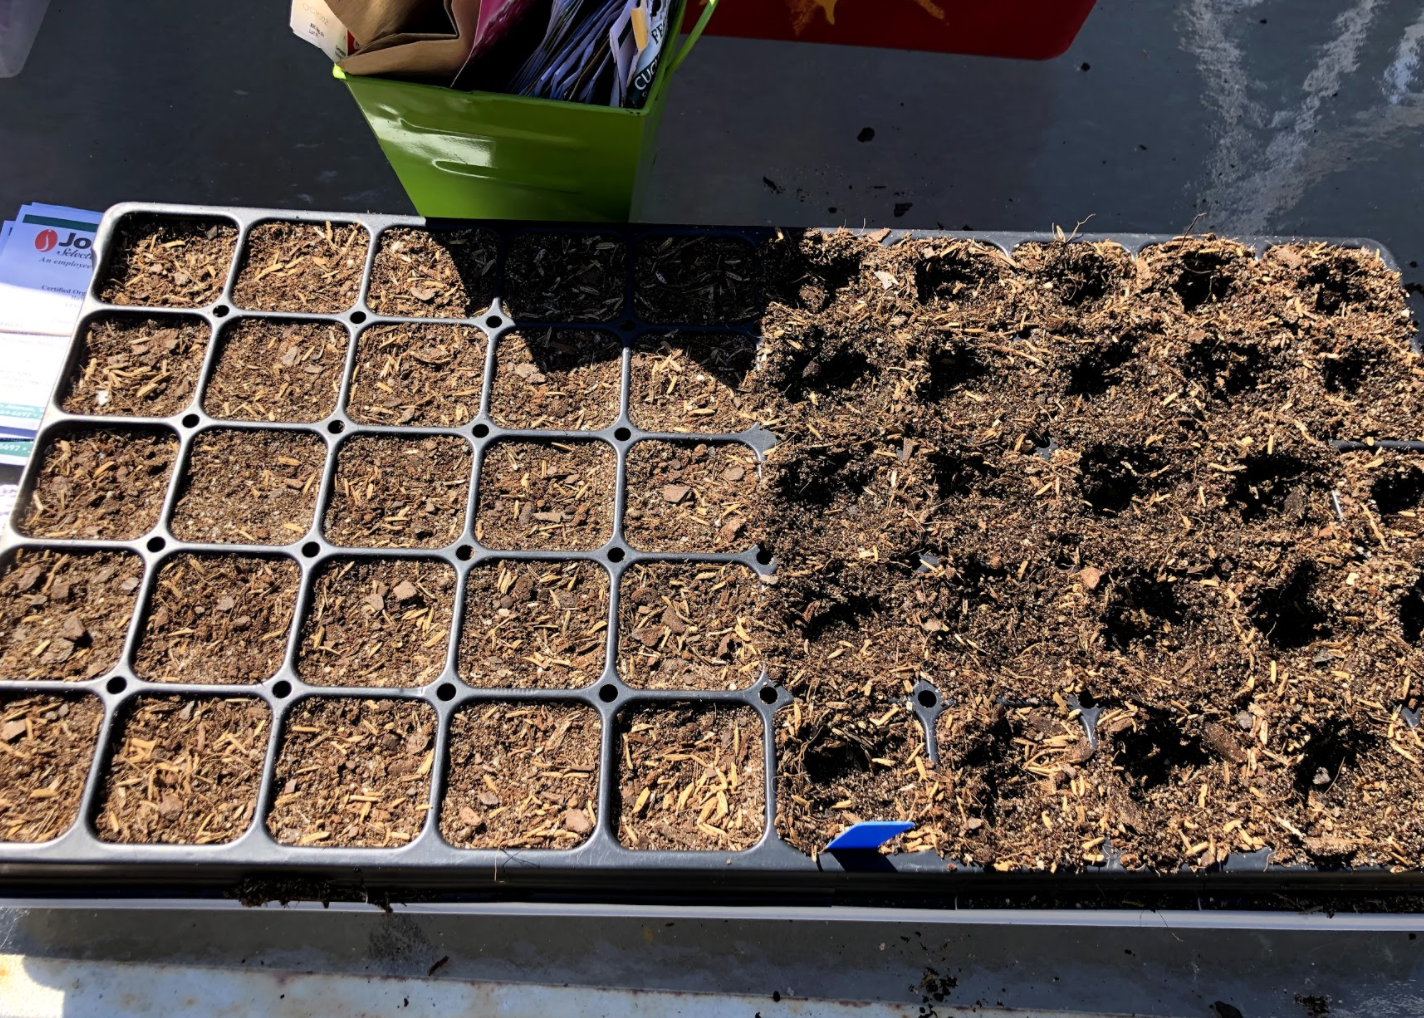
Fill the seed starting tray cells with potting soil. Make sure to get the soil nice and compacted, this is important so the cells stay consistently filled for the seeds and don’t loosen up too much when watering. Next water the soil making sure it gets fully saturated.
Step 3
Once the cells are all filled, read the back of the seed packet. Different seeds have different requirements on how deep they should be planted, how moist to keep the soil, and temperature regulations for germination.
Note when the seed packet says a “direct sow” is recommended. In that case, do not start these seeds in these trays, rather start them outside in your garden/pots/desired garden space.
Step 4
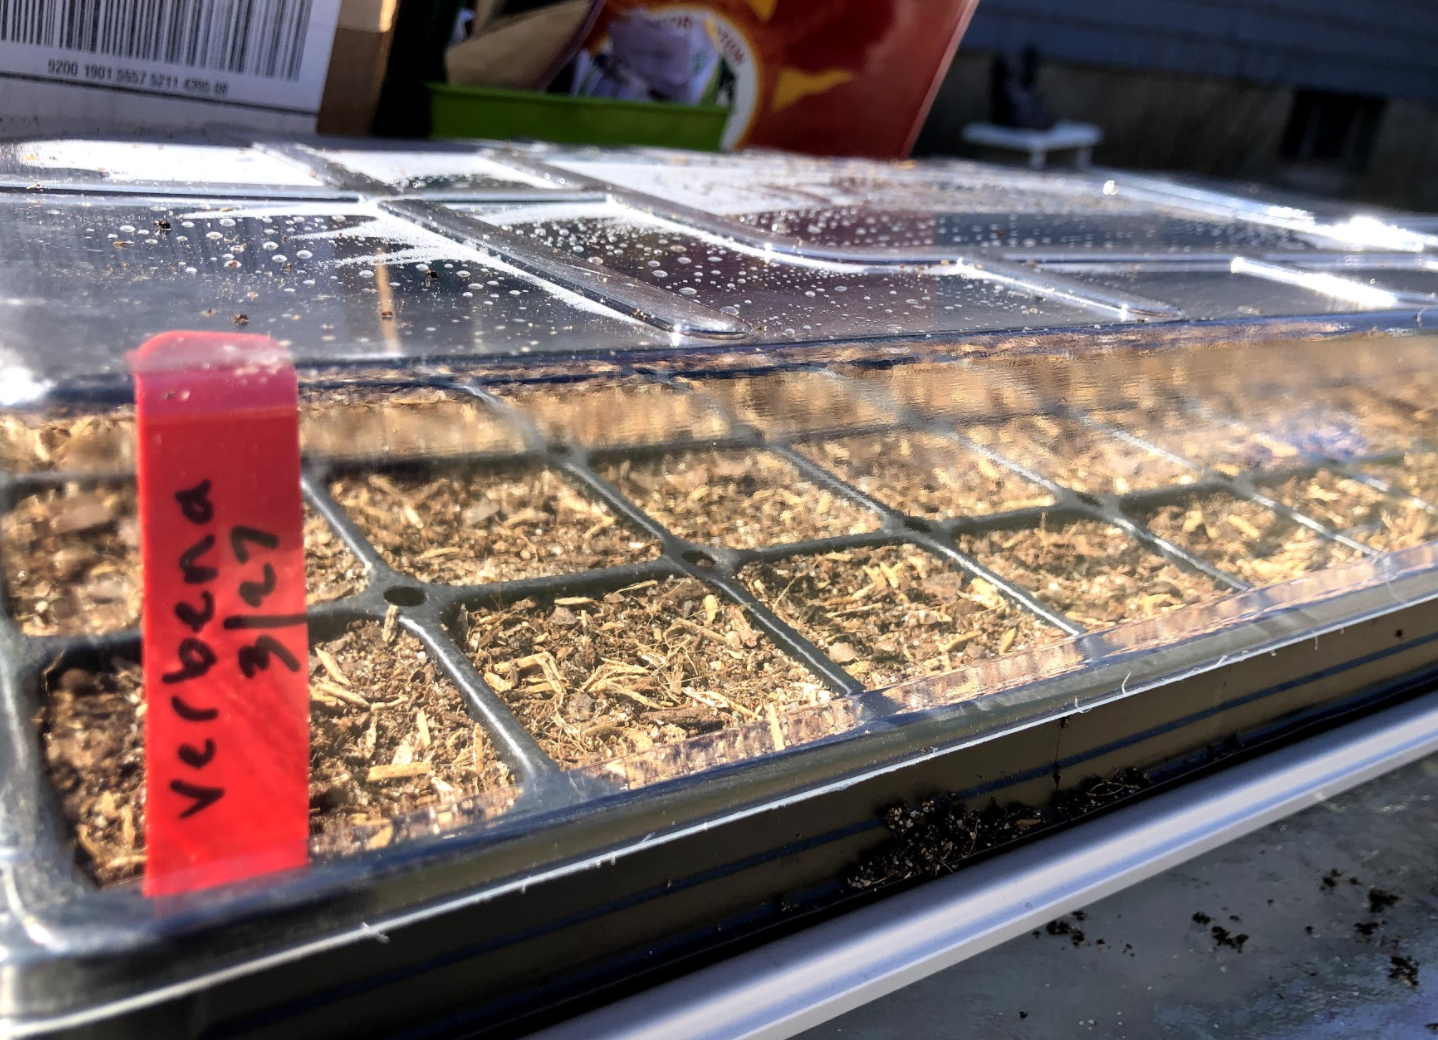
After following the directions on the back of the seed packet, plan for when the seeds will germinate and keep an eye out for your seedlings! Keep your trays watered and monitor moisture levels.
Step 5
Once the seedlings are about 2 inches or the amount of time reccomended by the seed packet has passed, it’s time for next steps! If there is no more chance of frost, put trays outside to get them accustomed to natural outdoor weather and cycles. After a week or so, you can carefully transplant into garden space outside.
Step 6
Show off your sprouts by posting them online and tagging #BringTheGreenwayHome!

